JDNEER Toolbox #07: WireGuard Road Warriors on RouterOS 7, One Command per Client
JD Bungart's newest JDNEER toolbox script, wg-manage.sh, adds, lists, re-keys and removes WireGuard road-warrior clients on a MikroTik RouterOS 7 router over SSH, picking a free address, keeping private keys local and printing a QR code for phones.
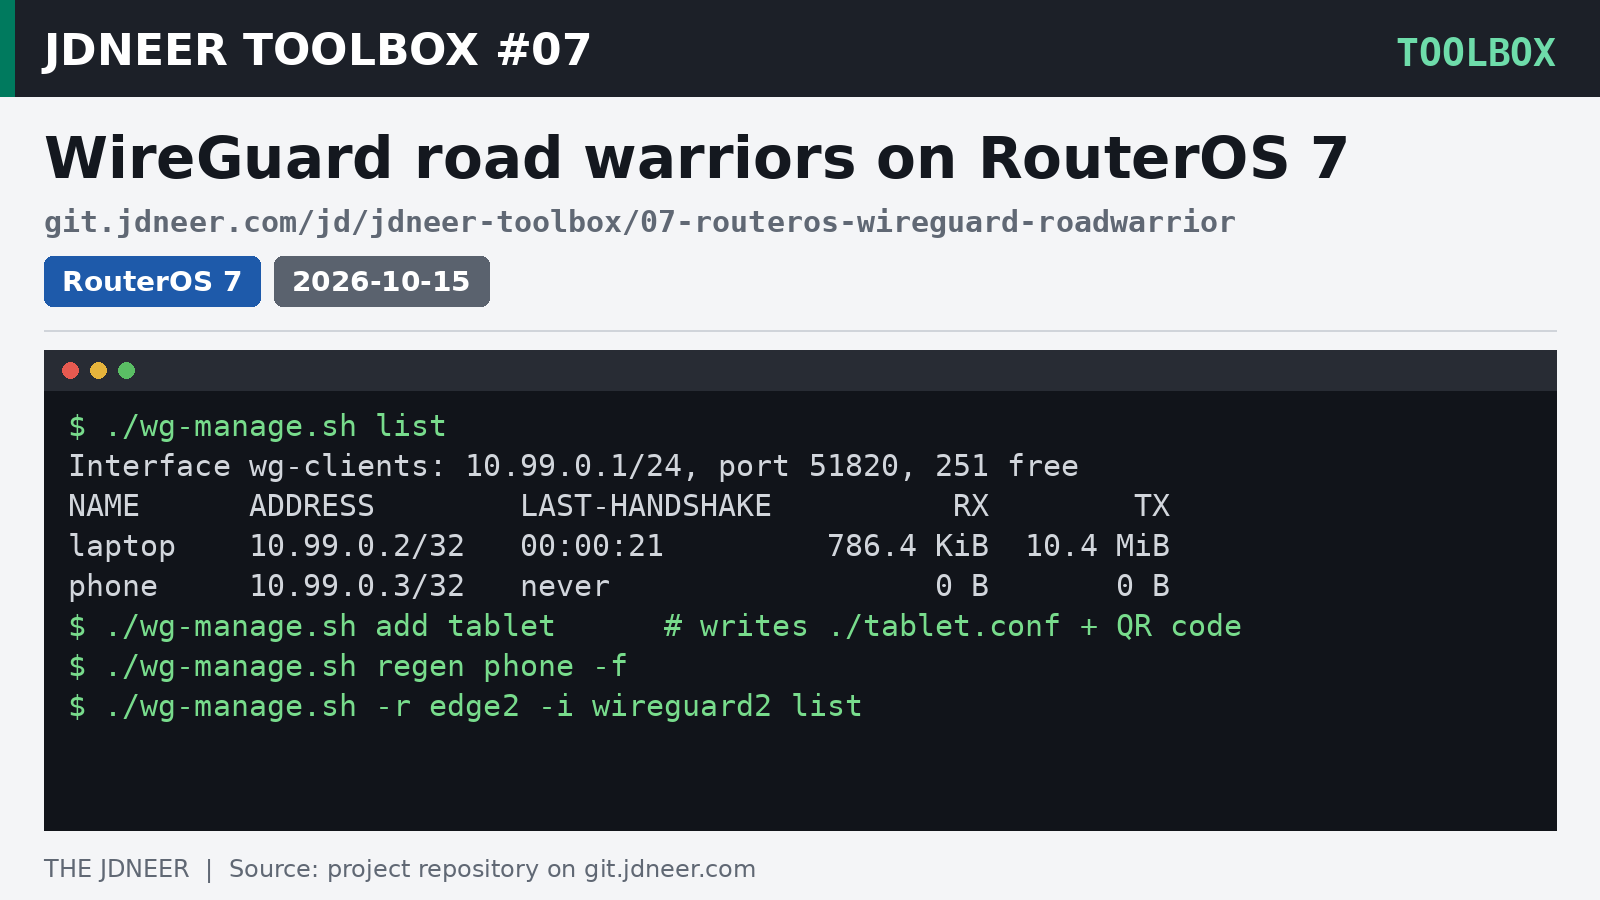
JD Bungart has added a new tool to the JDNEER toolbox, his collection of standalone, numbered utilities for systems, networking and everyday problem-solving. Number 07, routeros-wireguard-roadwarrior, is a single Bash script called wg-manage.sh that adds, lists, re-keys and removes road-warrior WireGuard peers on a MikroTik RouterOS 7 router over SSH.
Setting up a laptop or phone by hand usually means generating a key pair, hunting for an unused address, adding the peer on the router, then typing out the client config and turning it into a QR code. As the README puts it, every step is easy to get slightly wrong, and a wrong address breaks someone else's tunnel. JD's script does the whole round in one command and checks the router afterwards.
One command per client
The script reads the WireGuard interface in a single RouterOS call: its public key, listen port, MTU, IPv4 address and every existing peer. The address range comes straight from the interface, so nothing about the subnet lives in the script. Each new client gets the lowest free host, skipping the network and broadcast addresses, the router's own address and anything already claimed by another peer.
Keys are generated locally. The router only ever sees the public key, and the private key exists only in the .conf file the script writes, with mode 600. After adding the peer, it reads the router back to confirm the key and address, and only then moves the profile into place and prints a QR code in the terminal for phones. The profile sends all traffic through the tunnel, IPv6 included, so a router without IPv6 drops that traffic rather than letting it leak around the VPN.
JD built in a healthy distrust of the router, too. RouterOS exits 0 even when a command fails, so the script ignores the exit code and judges every write by reading the state back. A peer list that is cut short is refused rather than treated as complete, and if anything fails after the router has changed, the script says so and prints the exact command to recover.
Using it
Point it at a router through a host name or an ~/.ssh/config alias, optionally name the interface if it isn't wireguard1, and go. Settings can live in ~/.config/wg-manage/wg-manage.env, a file the script reads but never executes. Any write command takes -n for a dry run. From the README:
# Once: store the router and interface
mkdir -p ~/.config/wg-manage
cp wg-manage.env.example ~/.config/wg-manage/wg-manage.env

# Interface summary and peers
./wg-manage.sh list

# Add a client; writes ./laptop.conf and prints its QR code
./wg-manage.sh add laptop

# Preview without changing the router
./wg-manage.sh -n add phone

# Lost the profile? New key, same address, old key stops working
./wg-manage.sh regen phone -f

# Remove a client (asks first unless -y)
./wg-manage.sh remove phone
Running list shows the interface, how many addresses are free, and each peer's last handshake along with traffic in B, KiB, MiB, GiB or TiB.
Before you start
The script needs Bash 4.4 or newer, ssh, wg from wireguard-tools and qrencode. On the router side it expects RouterOS 7 with an existing WireGuard interface that has exactly one IPv4 address, reachable over SSH with key authentication. Firewall rules are left to the admin: the script never touches /ip firewall, so forwarding to the WAN needs to be in place before clients can do anything once connected. The folder also ships a sample SSH config with connection sharing, a sample env file, and offline tests that stub out ssh and qrencode.
Full details, including every flag and the SSH setup notes, are in the tool's README. Like the rest of the toolbox, it is self-contained, so it can be copied out and used on its own.